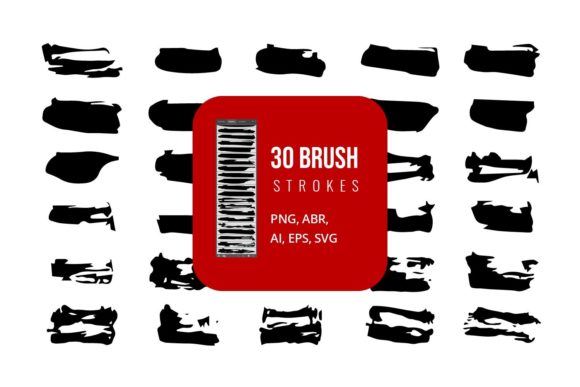
Mastering the Grungy Brush Collection with Watercolor: A Practical Guide for Digital Creators
Digital design often suffers from being too clean. In an era of polished vectors and sterile layouts, adding texture is the quickest way to inject soul and authenticity into your work. This is where a Grungy Brush Collection with Watercolor becomes an indispensable asset. Whether you are a seasoned graphic designer, a small business owner creating social media content, or a hobbyist exploring digital painting, understanding how to properly utilize these tools can elevate your visual communication significantly.
However, simply downloading a pack of brushes is not enough. Many creators stumble because they misunderstand the file formats, ignore software compatibility, or apply textures without considering the overall composition. By addressing these common pitfalls early, you can save time, avoid frustration, and ensure your final output looks professional rather than amateurish.
Understanding the Versatility of File Formats
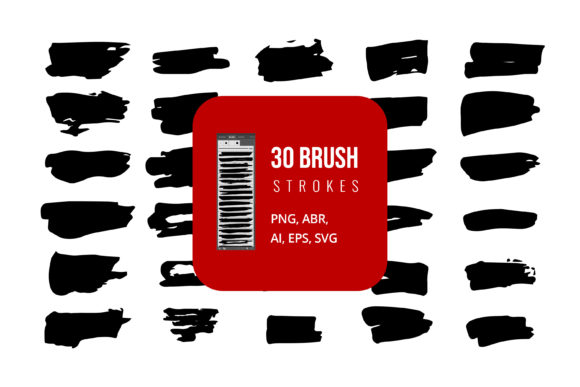
One of the most frequent mistakes buyers make is overlooking the specific file types included in a brush collection. A comprehensive Grungy Brush Collection with Watercolor typically offers a wide array of formats, including AI, EPS, SVG, JPG, PNG, and ABR. Each format serves a distinct purpose, and using the wrong one can lead to pixelation, editing limitations, or workflow bottlenecks.
For instance, many beginners attempt to use raster images like JPG or PNG when they should be using vector files. If you are working in Adobe Illustrator, relying on PNGs means you cannot scale your grunge elements infinitely without losing quality. Instead, you should utilize the SVG, EPS, or AI files. These vector formats allow you to resize watercolor splashes and grunge strokes to any dimension while maintaining crisp edges. This is crucial for large-format printing, such as banners or packaging, where clarity is paramount.
Conversely, if you are working in Adobe Photoshop, the ABR (Adobe Brush) file is your primary tool. A common error is trying to import vector EPS files directly into Photoshop as smart objects for every single stroke. While possible, this is inefficient. The ABR format allows you to paint naturally, varying pressure and opacity, which mimics the organic feel of real watercolor. Ignoring the ABR file in favor of static images strips away the dynamic potential of the collection.
Software Compatibility and Workflow Efficiency
Another overlooked detail is assuming that all files work seamlessly across every platform. While the collection may include files compatible with Microsoft Word and PowerPoint, using them effectively requires a different approach than using them in professional design software.
For users of Microsoft Office applications, the JPG and PNG files are the most practical. However, a frequent mistake is inserting these images without removing their backgrounds. If the PNG does not have a transparent background, you will end up with ugly white boxes around your watercolor stains. Always check that the PNGs provided are transparent. If they are not, you may need to use a simple online tool or Photoshop to remove the background before importing them into PowerPoint for a presentation. This small step ensures your slides look polished and integrated, rather than slapped together.
For Adobe Illustrator users, the AI Brush functionality is powerful but often underutilized. Many designers drag and drop static EPS shapes onto their canvas. While this works, it limits your ability to change colors or adjust the flow of the brush dynamically. By loading the AI brush library, you can apply the grunge texture along a path, allowing for greater control over the direction and intensity of the effect. This approach is far more efficient when creating borders, frames, or typographic accents.
Avoiding Overuse and Maintaining Design Balance
Having access to a rich Grungy Brush Collection with Watercolor can lead to the temptation of over-decoration. A common pitfall among beginners is applying multiple heavy textures to a single design, resulting in visual clutter. This "more is better" mentality often obscures the main message and reduces readability.
To avoid this, adopt a subtractive mindset. Start with a clean layout and add grunge elements only where they serve a purpose, such as highlighting a key headline or adding depth to a background. Use the watercolor elements to guide the viewer’s eye, not to distract them. For example, a subtle watercolor wash behind a quote can add warmth and focus, whereas covering the entire page in heavy grunge strokes can make the text difficult to read.
Additionally, consider color harmony. Watercolor textures often come with pre-set colors, but these may not match your brand palette. A better approach is to use the vector files (SVG or EPS) to recolor the elements to fit your specific design scheme. This ensures consistency and professionalism. If you are using raster files, utilize blending modes in Photoshop, such as "Multiply" or "Overlay," to integrate the texture naturally with underlying colors.
Checking Quality Before Full-Scale Implementation
Before committing to a project, it is wise to test the assets. Download the sample files or purchase the collection and open each format in its intended software. Check the resolution of the JPG and PNG files. Are they high enough for your needs? Inspect the SVG and EPS files in Illustrator to ensure the paths are clean and not overly complex, which can slow down your computer.
Pay attention to the ABR brushes in Photoshop. Test the pressure sensitivity if you have a graphics tablet. Do the brushes respond naturally? Is the opacity build-up smooth? These small tests can prevent major headaches later in the design process. If a brush feels stiff or unnatural, adjust its settings in the Brush Panel rather than forcing it to work. Customizing the brush dynamics can often turn a mediocre stroke into a perfect one.
Ultimately, a Grungy Brush Collection with Watercolor is a versatile toolkit that bridges the gap between digital precision and organic artistry. By understanding the strengths of each file type, respecting software limitations, and applying textures with intention, you can create compelling visuals that resonate with your audience. Avoid the common traps of format confusion and overuse, and you will find that these tools not only enhance your designs but also streamline your creative workflow.